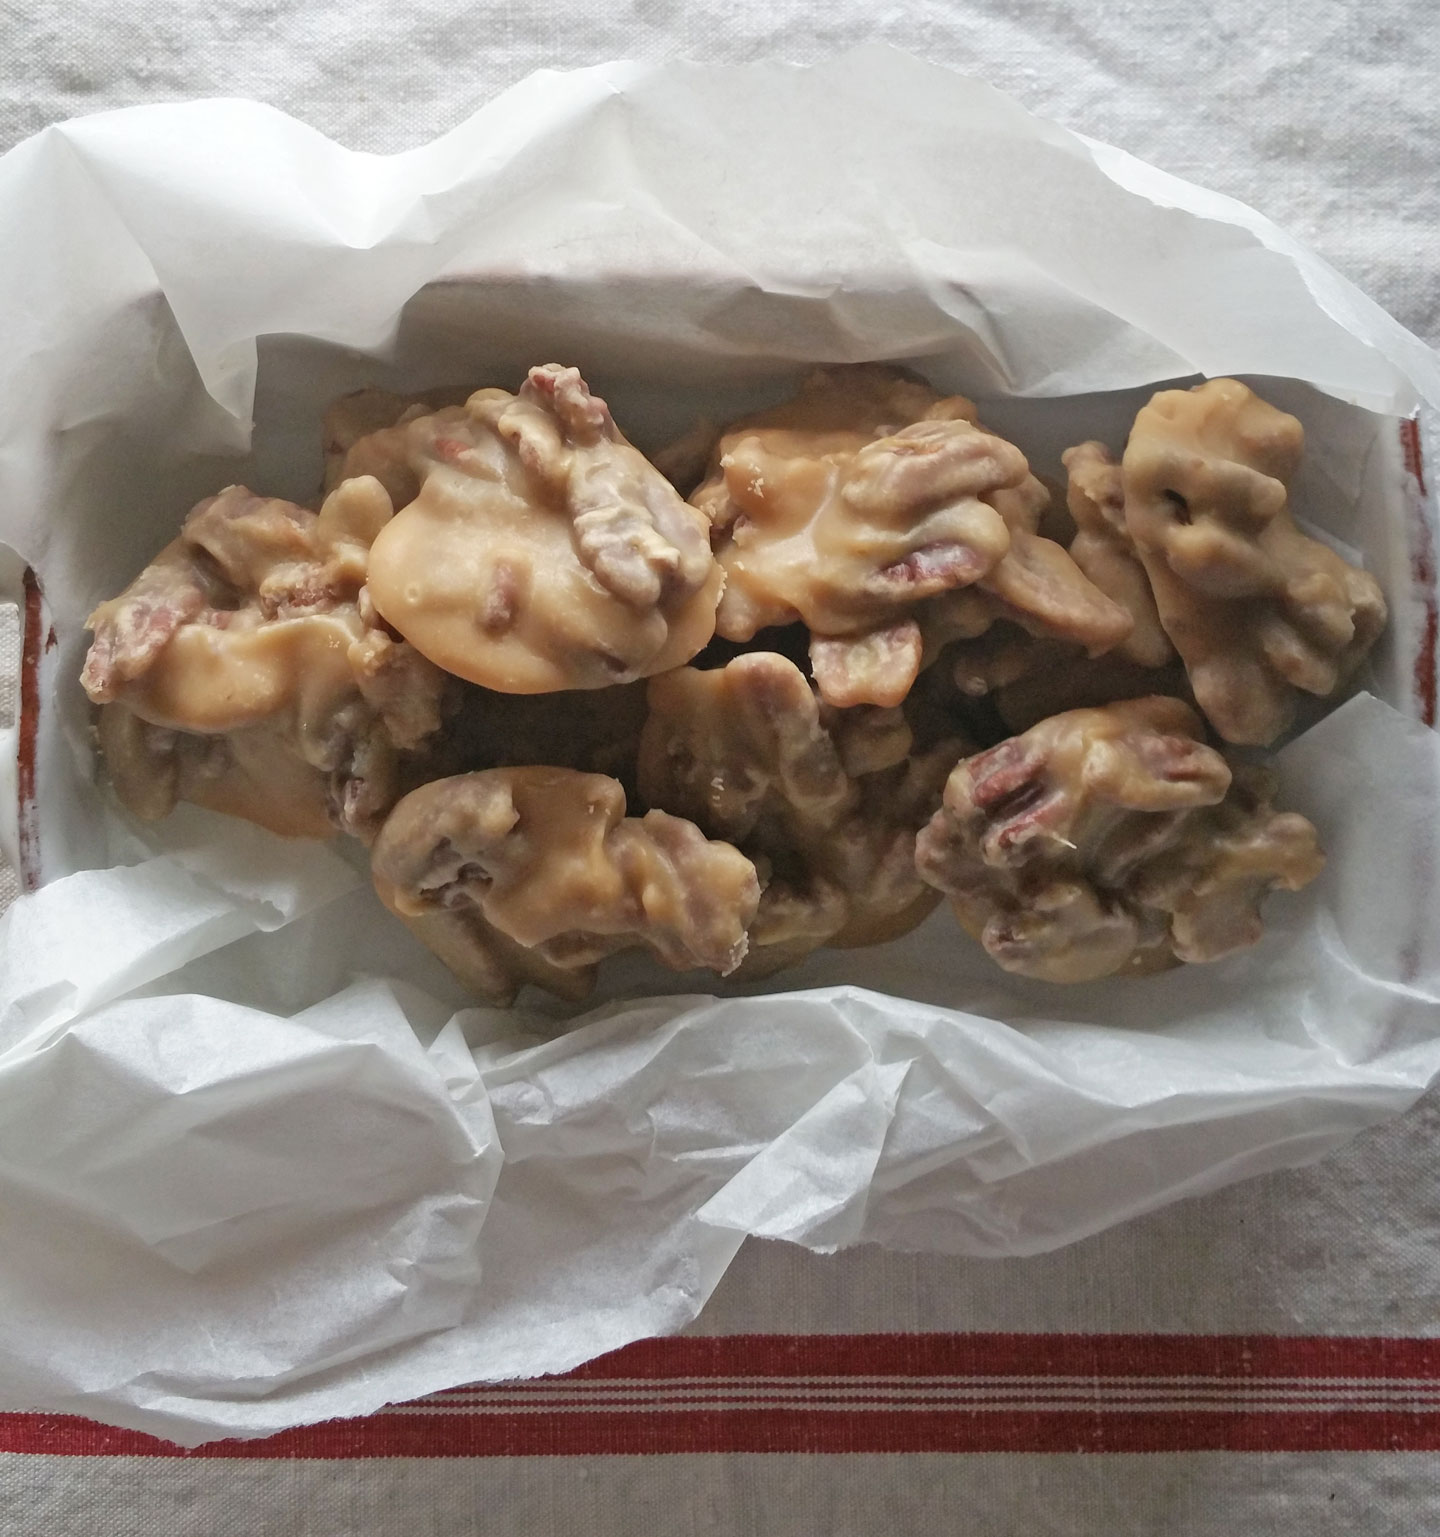
Pecan Pralines
On December 15, 2014 by sixtyacrebakerPRAWWWWWWlines. Say it with me, and then get in the kitchen and make some. You won’t be disappointed. I Guarantee It.
This recipe came from my love of the sweet confection. I have been obsessed with the treat since my first visit to New Orleans way back when Emeril had a last name. I printed this recipe and a story to go with it on my previous blog, but they are so good, I thought they warranted their own page on Sixty Acre Baker. They make a perfect holiday (or any time of year, really) gift.
Pecan Pralines
1 quart heavy cream
3 cups granulated sugar
generous pinch of kosher salt
1 1/2 lbs toasted pecans
1 Tbs+ 1 tsp lemon juice
1 Tbs unsalted butter
2 tsp vanilla
In a heavy bottomed pan, stir together the cream, sugar and salt. Place on low to med-low heat and pop in a candy thermometer. Cook until thermometer reaches 234 degrees F. The wait between 220 and 234 is lengthy..don’t be tempted to up the heat to make it happen faster. You can pretty much leave it alone until it reaches 220, at 220, stay in the kitchen checking on it frequently. When it hits 230, watch it and start stirring, it will start to change colors at this point and you want to make sure the bottom doesn’t burn. There will be brown bits, but just mix them in. Stir, stir, stir. When it hits 234, take the pot off the heat, remove the thermometer and add the lemon juice, vanilla, butter and pecans. Stir to incorporate, then pop the thermometer back in and bring the temp back to 234. It will go a bit faster this time, keep an eye on it and stir continually to prevent burning on the bottom. When it hits 234, spoon it out in dollops (i use a soup spoon),onto parchment lined cookie sheets, or aluminum foil that has been sprayed or greased lightly.There are a lot of pecans in this, so make sure you get a nice mix of the caramelly goodness. One batch will make about 50 moderately sized pralines. They will look like caramel until you cool them. As they cool and sit, they will begin to get a bit cloudy. That is a good thing. You are not looking for chewy here.
Let cool for a few hours. They will keep for quite a while if you keep them in an airtight container in a dry place. Please, do not put in the fridge.

After the Rain
On December 13, 2014 by sixtyacrebakerWe’ve been having a bit of weather here lately. We are in the Central Coast of California and have been in serious drought conditions. The recent rains are welcome, but challenging as well. We’ve had a lot of dirt, and now we have a lot of mud. Keeping the house clean is the least of my worries, but the biggest of my annoyances. We’ve outfitted a large canvas tent for our overnight guests. With the temps dropping, we recently installed a wood-stove to keep the tent warm and cozy. Last night, along with the rain, we had some pretty rough winds. They were so strong, they blew the cap off the wood-stove pipe and the tent fly. As a result the woodstove filled with water, and we had some moisture in the tent. All was easily remedied by draining out the water and starting a good hot fire. I may have taken a wee little afternoon nap; arising just in time for this beautiful scene.
Apple Fritters
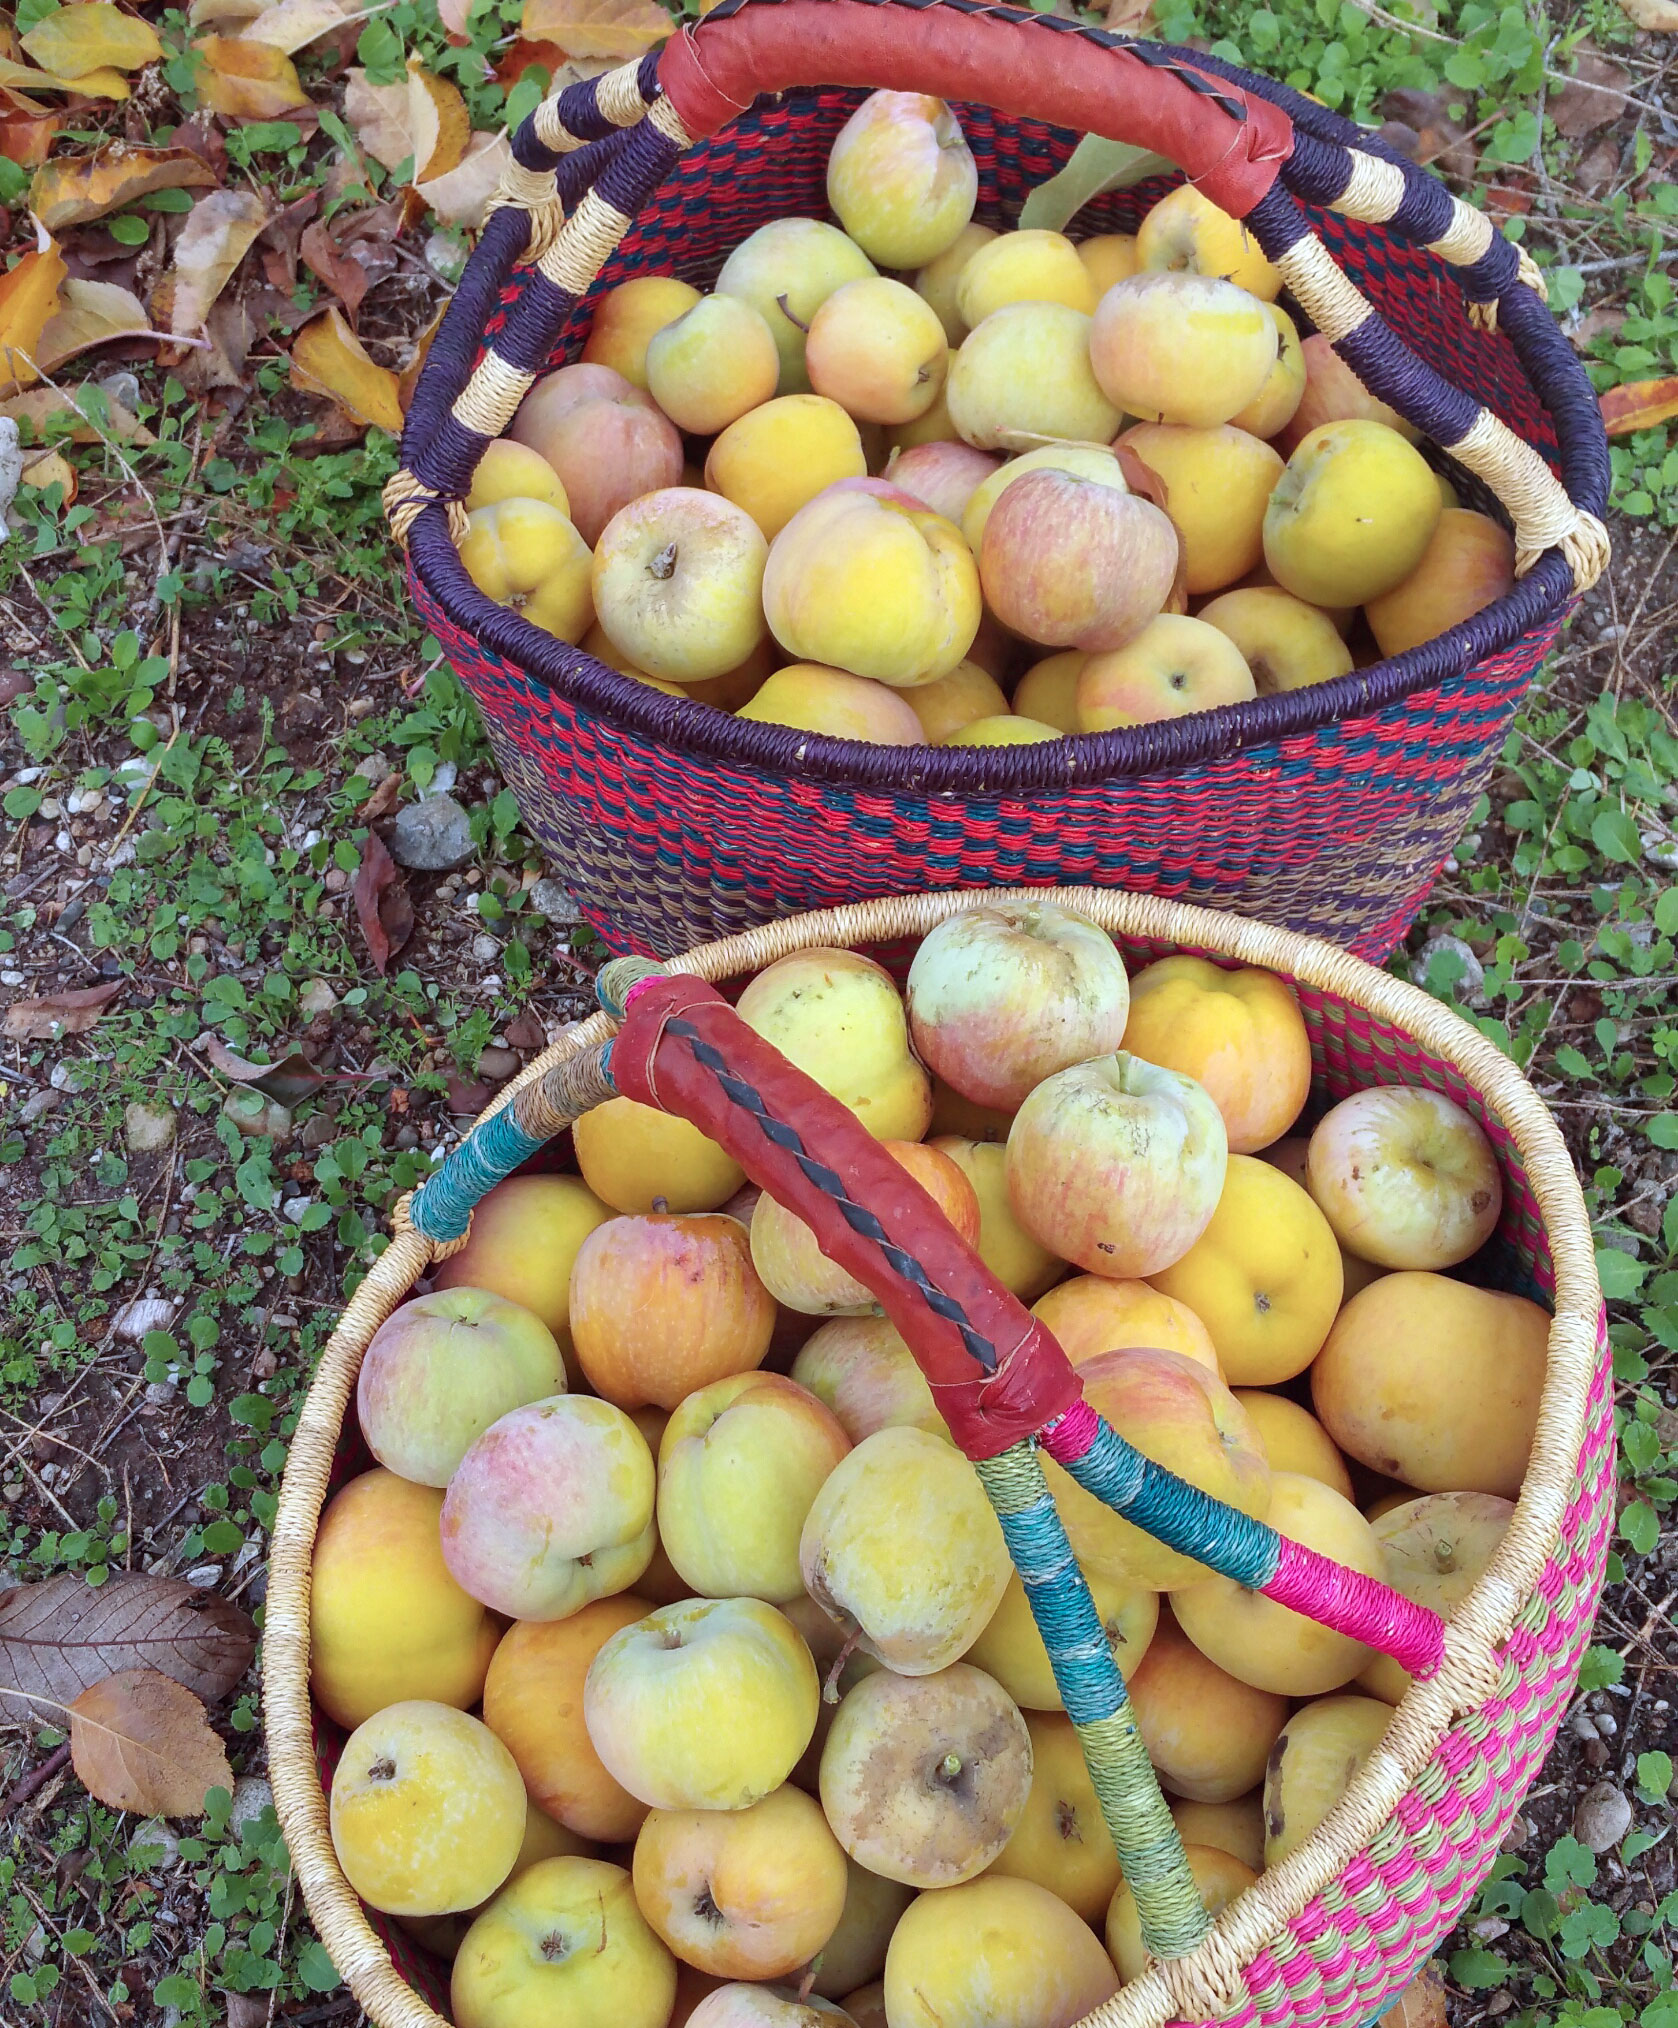
On December 7, 2014 by sixtyacrebakerMike planted 20 plus varieties of apples in our orchard. We have pie apples, sauce apples, snack apples, brandy apples and cider apples. To further the cause, our neighbor also grows a variety in her orchard. We are not starved for apples from late spring to early winter. Today, in the dense of early morning mist and chill, I picked the trees clean. Bushels and bushels of apples. A workout and a treat! These apples are slated for hard cider. I’m still gathering all of the supplies, but I will be pressing the apples this week, and starting the fermentation process straight away. I’ll keep you posted on the progress. With any luck it won’t end up like the root beer project of 2005. Spoiler alert, it ended with me in a delightfully rich, if not sticky, bath.
While you (and I) are waiting for the results of the cider…you may want to try making these delicious apple fritters.

Apple Fritters
for the apples
1 cup apples–cut in a 1/4″ dice
1 Tbs sugar
1 Tbs lemon juice
pinch cardamom
pinch nutmeg
pinch cinnamon
mix together in a bowl and let sit while you do your preparations
for the batter
1 cup apple cider
2 cups flour
1/2 cup sugar
1 tsp kosher salt
1 Tbs baking powder
1/2 tsp cinnamon
1/2 tsp nutmeg
1/3 cup milk
1 tsp vanilla
3 Tbs unsalted butter–melted
2 large eggs
oil for frying
Simmer the apple cider on the stove until it is reduced to 1/4 cup, and let cool. Heat your oil in a sturdy deep pot, to 360F. Your oil should be deep enough so the fritter can float, but you must also have at least 3″ between the top of the pot and the top of the oil. Meanwhile, place all your dry ingredients in a bowl and whisk to combine. Make a well in the center and pour in milk, vanilla, butter, cider and eggs. Slowly stir together, making sure all ingredients are incorporated, but do not beat. Stir in the apple and any juices that may have accumulated. you can make these small or big, the process is the same. Drop into hot oil and then using a spatula poke it a few times to flatten it a bit and give it some nooks and crannies. Fry until golden brown, then flip and continue until both sides are equally colored. Remove from oil and place on a cooling rack, placed over a sheet pan.
for the glaze
1 cup powdered sugar
2 Tbs (more or less) cider
Mix together in a shallow bowl. When the fritters are still warm, but not too hot to touch, dip in the glaze.
Quince Fruit Leather
On December 5, 2014 by sixtyacrebakerAs a kid, I brought a sack lunch to school every day…as did most of my classmates. What I would never find packed in my lunch were modern day snack foods. I was always trying to trade up for fruit roll-ups. Oh how I loved them. The whole thing…the sound the leather made while being ripped off its backing. Eating it piece by piece…or better yet…making a dense chewy mini roll-up which would burst with flavor at every gnash. Apricot was always my favorite. I would trade my best halloween candy for a roll of apricot.
I learned to make fruit leather in fancy french culinary school. It was a bit of a production; mostly because it was fancy culinary school. Making fruit leather is simple and easy, and extremely satisfying. I love it because it gives a use for the “dregs” from another product: the pulp from jelly making, juicing, and simple syrups. I made a lovely quince sorbet as a palate cleanser for our Thanksgiving dinner {recipe coming soon}. I boiled down the beautiful fruit and extracted a lovely pink elixir. At the end of it all, I was left with a bundle of fruit. It was a bit chunky, and was lacking sweetness. With just a little bit of flavor tweaking, and a good dry out in the dehydrator, I was able to make a roll-up that was better than the memory of my youth and cheaper than culinary school tuition. Once you have the method down, you can make leather with all your favorite flavors. You also will be glad to know that having a fancy dehydrator, while a great convenience, is not required to make this tasty treat.
Quince Fruit Leather
2-3 lbs quince
juice of 1/2 lemon
seeds from 3 cardamom pods
1″ ginger root, peeled and smashed
1/2 cup granulated sugar (optional: I find that it helps bring out the pink color of the quince when cooking)
piece of parchment paper
additional sweetener (sugar, brown sugar, honey, agave; your choice)
ground cardamom, ground ginger
Wash fruit well and scrub off all fuzz from exterior. Chop quince into chunks (about 2″ each). Place in a heavy bottom pot and cover with water. Add lemon juice, cardamom seeds, ginger root. Cut your parchment paper into a round large enough to cover your pot Cut a small hole in the middle of the parchment round for venting. Place the parchment snugly on top of the quince. The purpose of the parchment is to keep the fruit submerged under the liquid. Cook until the fruit is very soft and falling apart and the color has changed from yellow to pinkish. The longer you cook, the more color you will get from the fruit. Blend everything together using an immersion blender, blender, food processor or food mill. Drain using a cheesecloth lined sieve or jelly bag. If you don’t want to drain the liquid out, toss the whole mess back into the pot and cook off most of the liquid. You don’t want the mixture to be completely dry, but you don’t want it to be so liquidy that you can drink it. Whether you drain or don’t drain, place the mixture you will turn into leather back onto the pot and taste for sweetness and spice. Don’t over sweeten. You will be dehydrating, which will make the flavor extra bold. Add enough sweetness and spice to highlight the flavor. You may want to add a bit more lemon juice at this point as well. Just cook long enough for the sugar to melt into the mixture.
You can use the drained for cocktails, homemade sodas, sorbet, over fruit, soaked in pound cake…
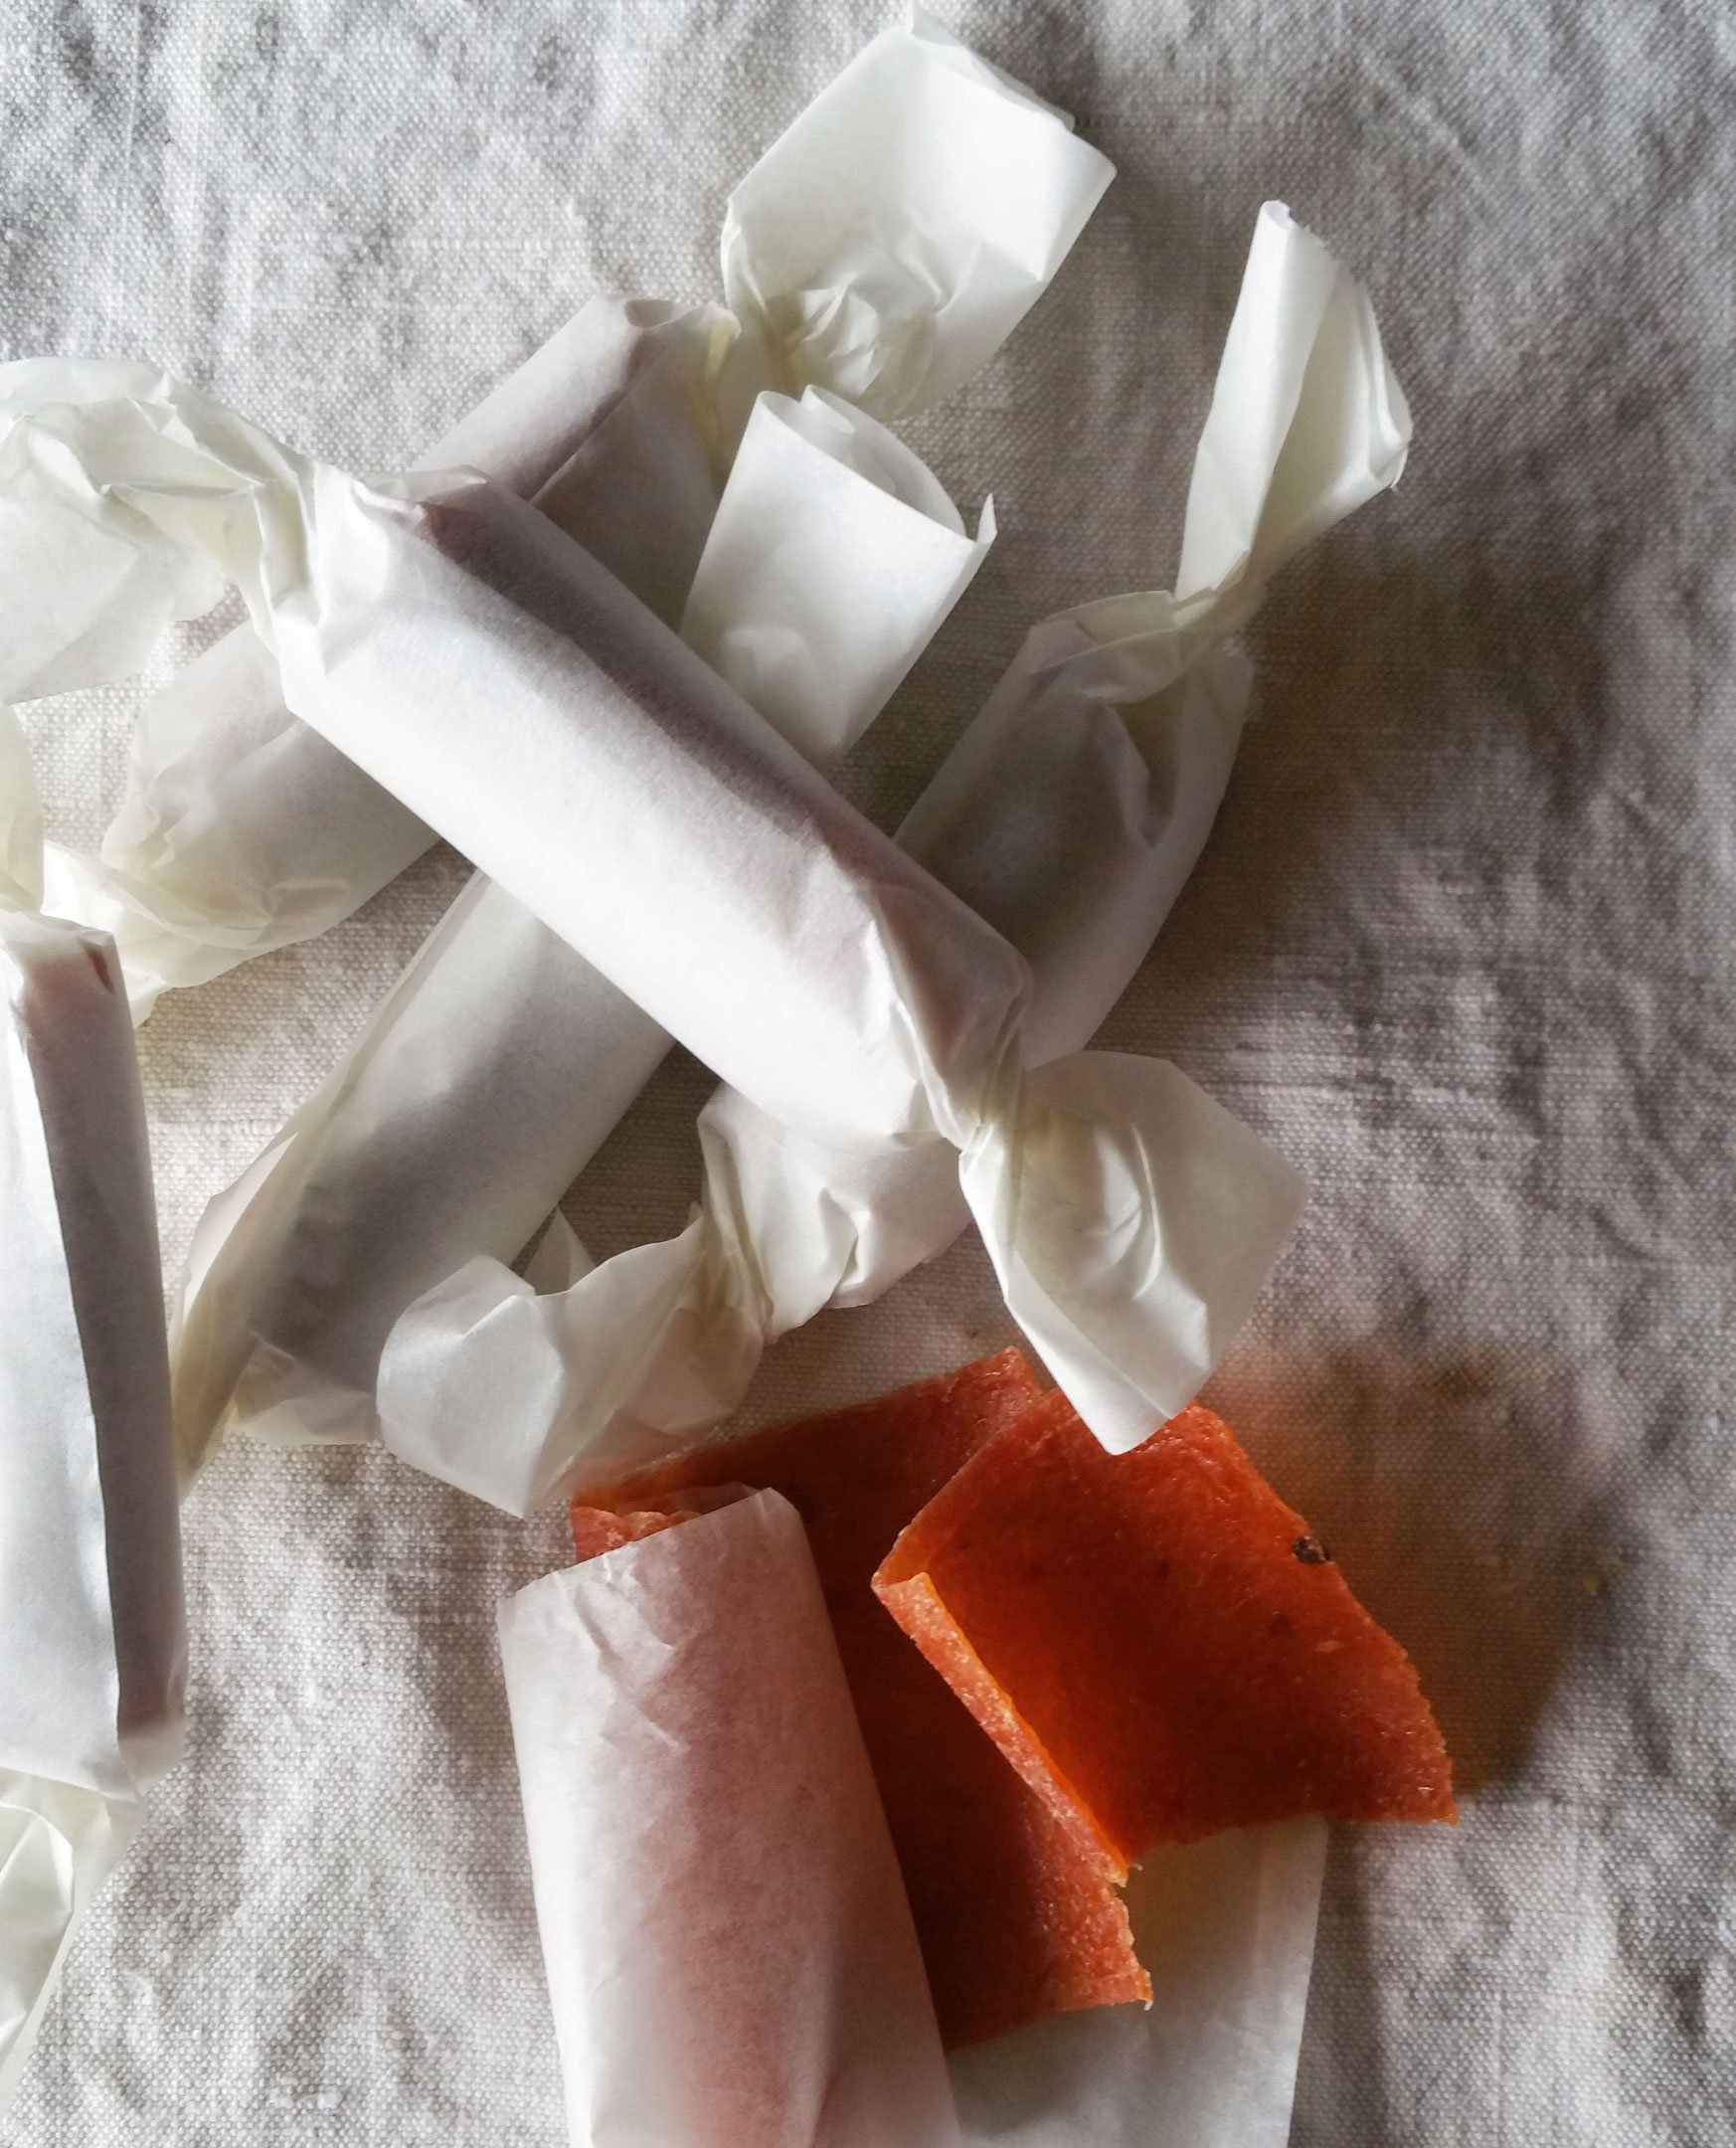
Prepare your dehydrator or sheet pans. If you have a dehydrator, line the mesh sheets with plastic wrap. If using oven, line with silpat or heavy plastic wrap. Using an offset spatula spread an even 1/8″ thick layer of fruit paste onto your prepared surface. If using a dehydrator or oven use a setting of 135-140F. It can take anywhere from 6-12 hours. Start checking up on it at 6 hours. The paste should have lost its stickiness, but not be hard. If it is hard, while still warm, it will be fruit crackle when it cools (which is still edible and yummy). I like to turn the dehydrator off at maximum of 8 hours and let the leather sit for a few hours or overnight.
Store in an airtight container…or fancy wrap them like the gift they are.