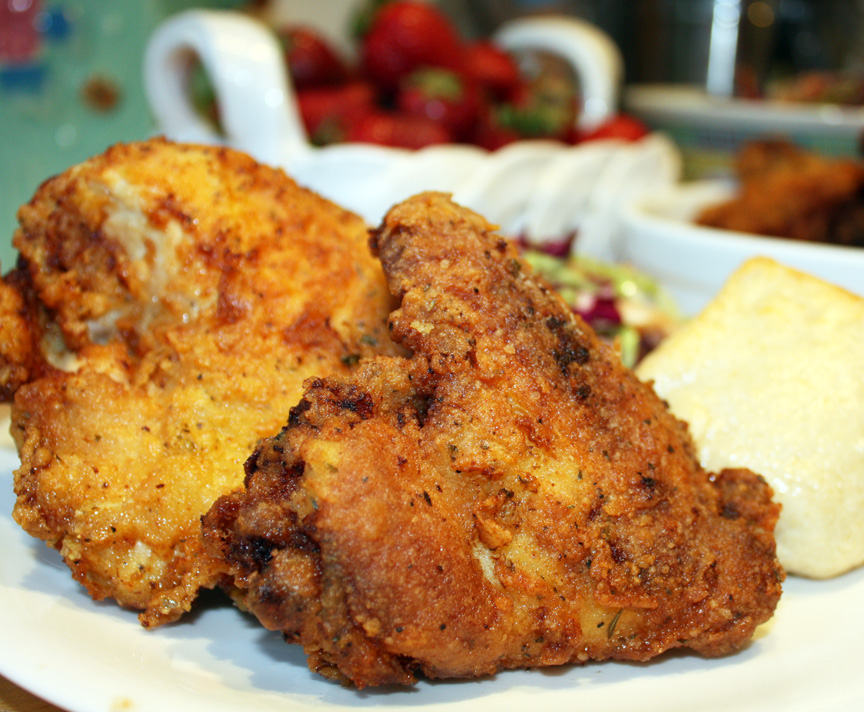
Buttermilk Fried Chicken
On August 24, 2012 by sixtyacrebakerMy last meal would definitely include fried chicken. To me, it invokes warm summer nights, picnic loaded convertibles driven by dapper gents, and running barefooted at the shore. Grand times and a happy childhood. Forget the trimmings. Serve me up a crispy breast, a slather of honey & leave me in my memories.
Buttermilk Fried Chicken
1 whole fryer chicken–cut into parts (or 8-10 of your fave pieces)
Tabasco
buttermilk
2 cups flour
1/4 tsp turmeric
2 tsp sugar
1 tsp onion powder
1/2 tsp dried parsley flakes
1/2 tsp dried thyme leaves
1/2 tsp dried marjoram leaves
1 tsp black pepper
2 tsp kosher salt
1/4-1/2 tsp cayenne pepper
1 tsp garlic powder
peanut oil for cooking
Clean and dry the chicken pieces. Place in a large freezer/storage bag. Give the Tabasco about 5 or 6 shakes into the bag, then put enough buttermilk in the bag to coat all chicken pieces. Mix it around a bit to insure every piece gets coated with tabasco and buttermilk. Place in the fridge and let “marinate” for 4 hours or overnight. Remove chicken from fridge about an hour before cooking to bring to room temperature (if it is a very hot kitchen, use your judgement on this). You do not want to put ice cold chicken into the hot pan, but you also do not want it to sit out for more than 1 hour. Heat peanut oil in a heavy bottomed pan (i use a cast iron skillet), to about half-way up the sides. Meanwhile, prepare the flour. Mix the flour, turmeric, sugar, onion powder, parsley flakes, thyme, marjoram, pepper, salt, cayenne, and garlic powder in a shallow dish. Remove chicken pieces from the buttermilk and immediately drop into the flour mixture. Coat evenly and generously. Drop into the hot oil and be patient. Do not crowd the pan…do it in several batches if necessary. The chicken will take about 10-13 minutes per side depending on the size of each piece. Dark meat takes a bit longer, so put it in the oil first. Turn each piece only once…and keep the oil below 375..but at or above 350. Remove from oil and drain on brown paper or other kitchen paper
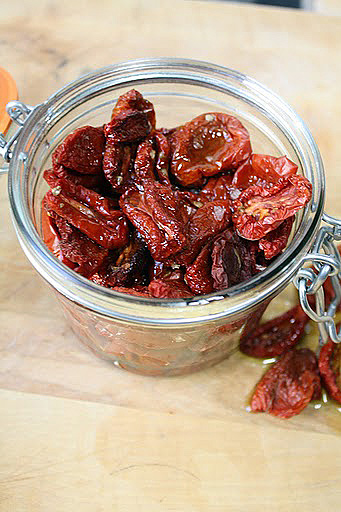
“Sun Dried” Tomatoes
On July 30, 2011 by sixtyacrebakerOur first tomatoes to ripen this season were our Romas. Unfortunately, they ripened while we were away from home. By the time I picked them they had shriveled on the vine. Handfuls upon handfuls of tomatoes baking in the sun. Going from sun-kissed
to heat stroke in my absence. Solar energy had zapped my tomatoes. Once picked, I sliced each tomato in half, placed them cut side up on a sheet pan and sprinkled with sea salt. I popped them in a 175-200 degree oven to dry. About 2 hours later, or maybe 3 i lost count. They should be checked on every 30 minutes after the 1st hour. They should be dry, but not dried out. After cooling, I stuffed the deep red chewy goodness into a fancy jar and smothered them with good olive oil.